BLOG
Create. Setup. Optimize: Signing up your Facebook Business Page in 2019
Facebook has 2.4 billion active monthly users. By the day, more users are utilizing the platform’s search capabilities to discover new pages and businesses. Make yourself available to billions of people (potentially) by setting up a Facebook business page today. Starting your Facebook marketing strategy simply requires three major steps: CREATE. SETUP. OPTIMIZE. Don’t worry as it is as easy as it sounds. Follow this tutorial and your Facebook business page will be up and running in no time!
CREATE your business page
Let’s start by creating your business page. Keep in mind that Facebook Profiles and Facebook Pages are two different things with very different functions. Facebook Profiles are personal accounts intended for use of individuals. Pages, on the other hand, are intended for brands and personalities. Pages come with extra features that are designed for marketing. For this tutorial, we are making a Facebook Page. With that distinction out of the way, let’s create your page.
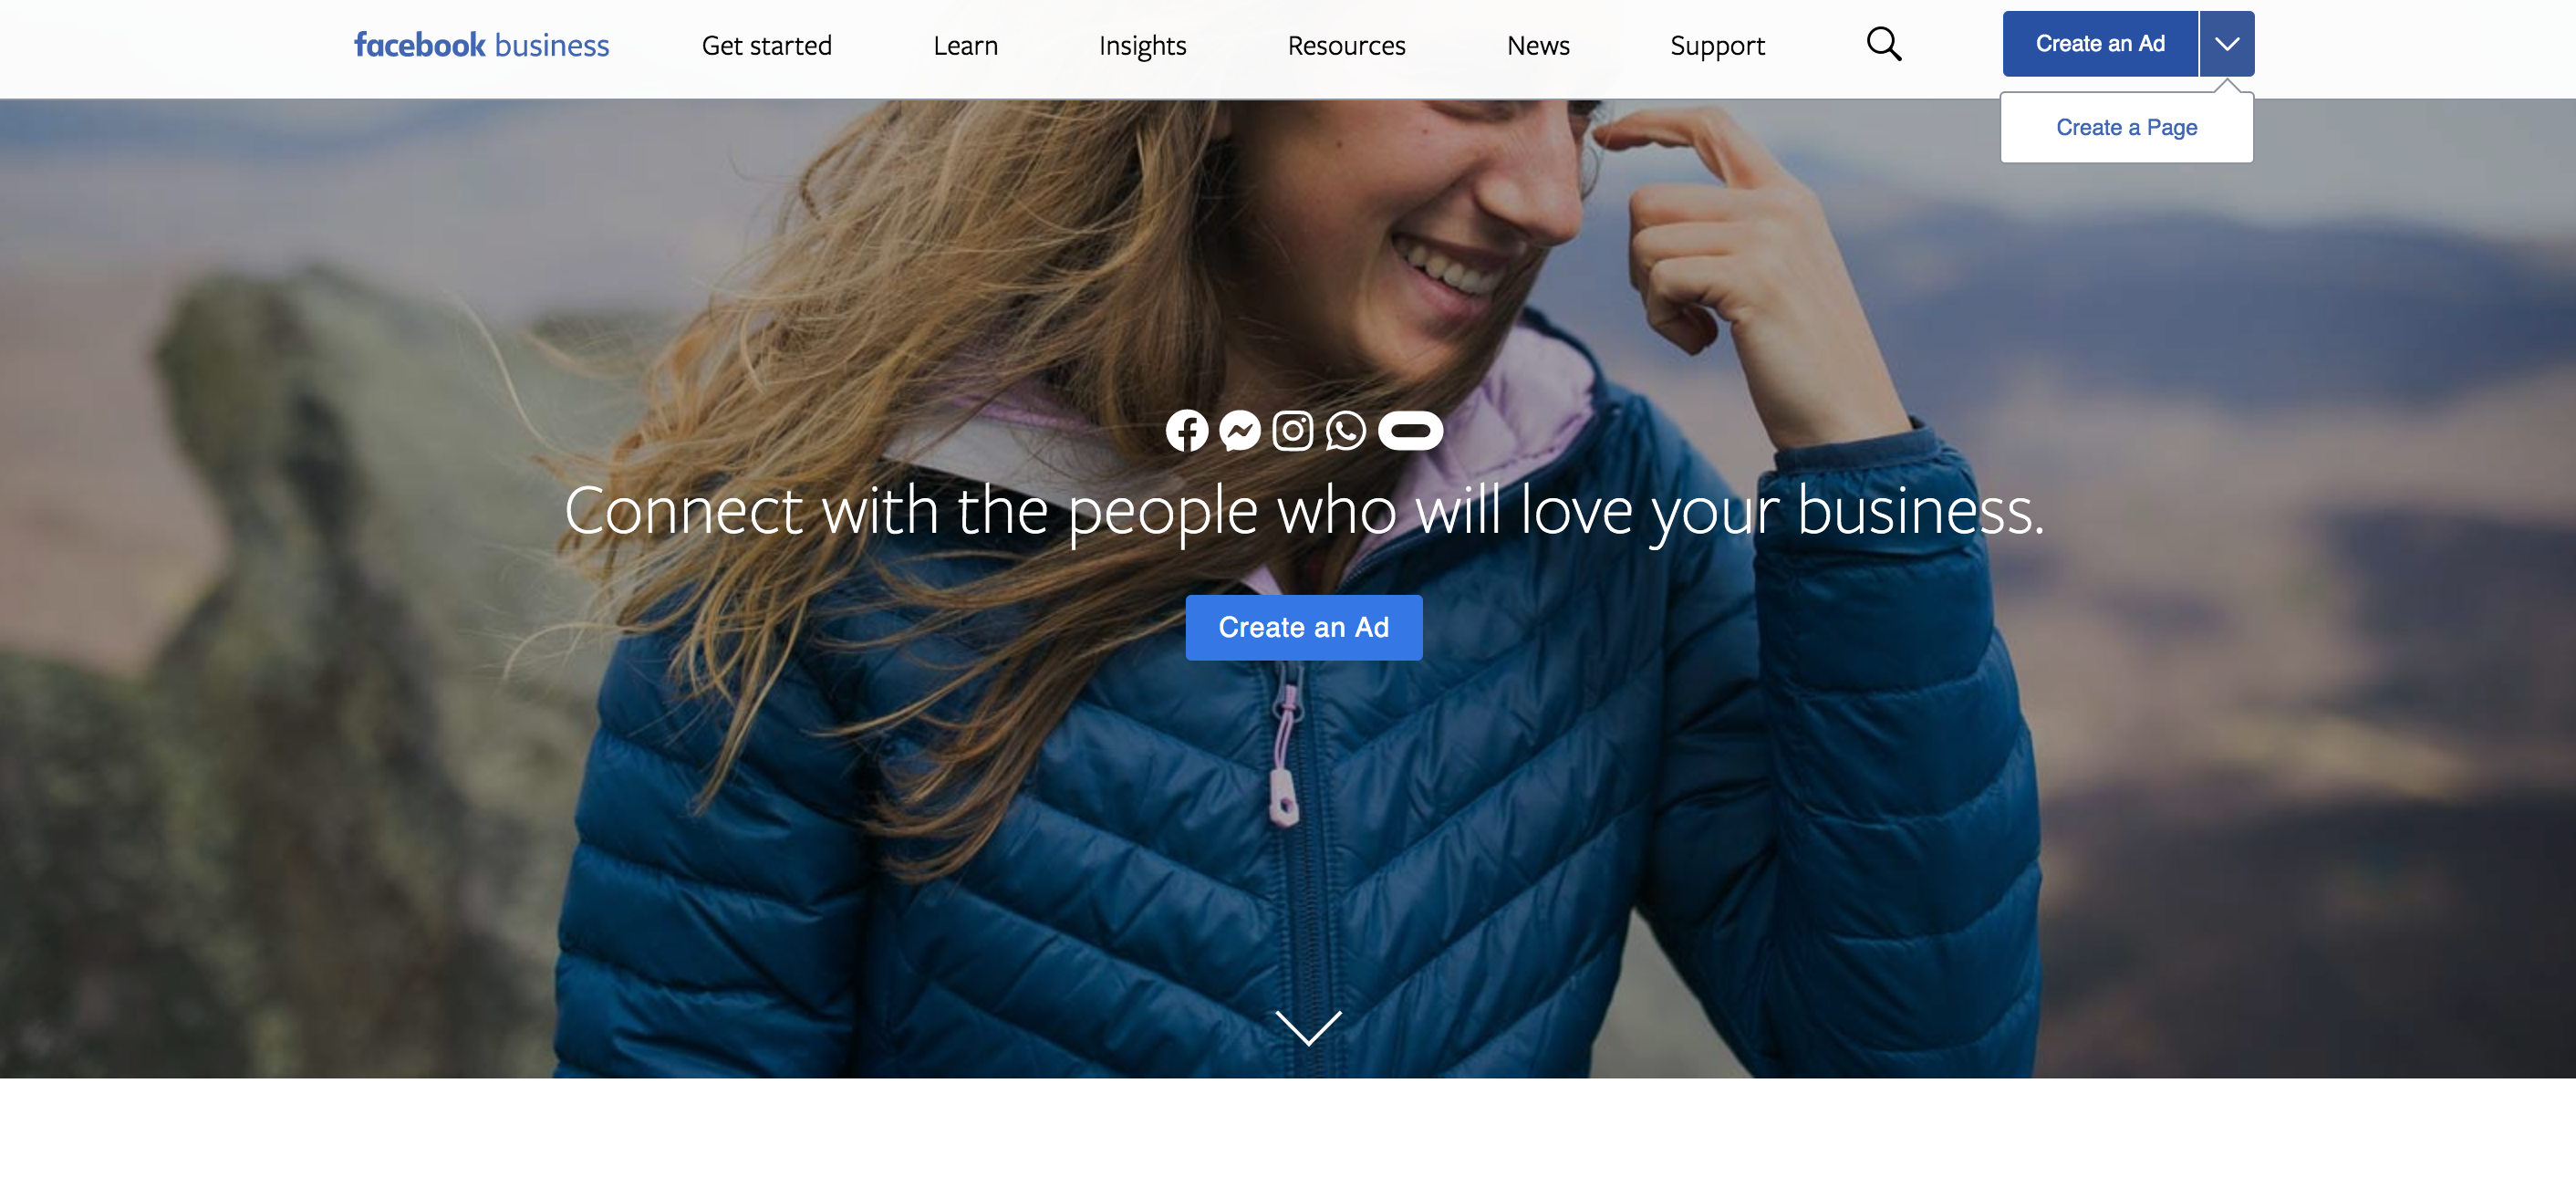
- Open facebook.com/business
- Click on the drop-down menu found at the top-right of the page. Then, select Create a Page.
- Select the type of page you want to create. In most cases, you’ll need to choose Business or Brand. Click Get Started.
- At this point, if you are not logged in with a Facebook Profile, you will be prompted to log in first. Simply login with a Facebook Profile to proceed.
- A form will appear. Fill in the necessary details starting from your Page Name, Category, Address, and Phone Number. All these information are important details new customers can use. If the nature of your business does not require your customers to know your address, simply check “Don’t show my address.”
- Click Continue. Take note that by clicking Continue, Facebook assumes that you have read the agreement policies and agree with them. For your security, take time to check out the policies before proceeding.
Your account is essentially already created but because Facebook cares about you, it leads you directly to setup your Business Address, Profile Picture, and Cover Photo. Here’s a quick guide to uploading your business photos:
- Profile Picture: This will be the “face” of your business page. Make sure you choose a photo that is easily identifiable with your brand. Your brand logo is your safest bet, although for newer smaller local businesses, a good photo of your product or service can also do the trick. Nevertheless, make sure you choose a high-resolution photo with the aspect ratio of 1:1 (a square). Make sure it doesn’t have important details at the corners as Facebook would crop your Profile Picture into a circle.
- Cover Photo: This will be your page’s banner and will be one of your page’s key visuals. Choose your cover photo wisely. Once again, a good shot of your product or service can do the trick. Announcements and ongoing promos can also work. Make sure the photo has a high resolution — at least 400 pixels wide and 150 pixels tall.
Voila! Your Facebook business page is already created. But your work isn’t over. You’ve laid the foundations, now we need to setup some content for visiting customers.

SETUP your page content
Once your customer clicks on your page, you will only have a few seconds to keep them from clicking away. Remember that your goal is not only for them to find you but also to keep them staying long enough to click on any of your services. Good profile and cover photos will help make you look legitimately credible, but to truly make them stay, you need some page content. Let’s setup your page for good content!
- THE ABOUT PAGE. A website has 3 essential pages: the Home page, About page, and the Contact Us page. The same thing goes with any social media account. Your homepage (also known as ‘your feed’) will eventually setup itself as you post content on your page over time. Your About and Contact Us pages are what need setting up. Good thing Facebook combines the two in one easily-customizable page. Simply go to the side tab at the left side of the page and click on About. If you don’t see it immediately, click See More.
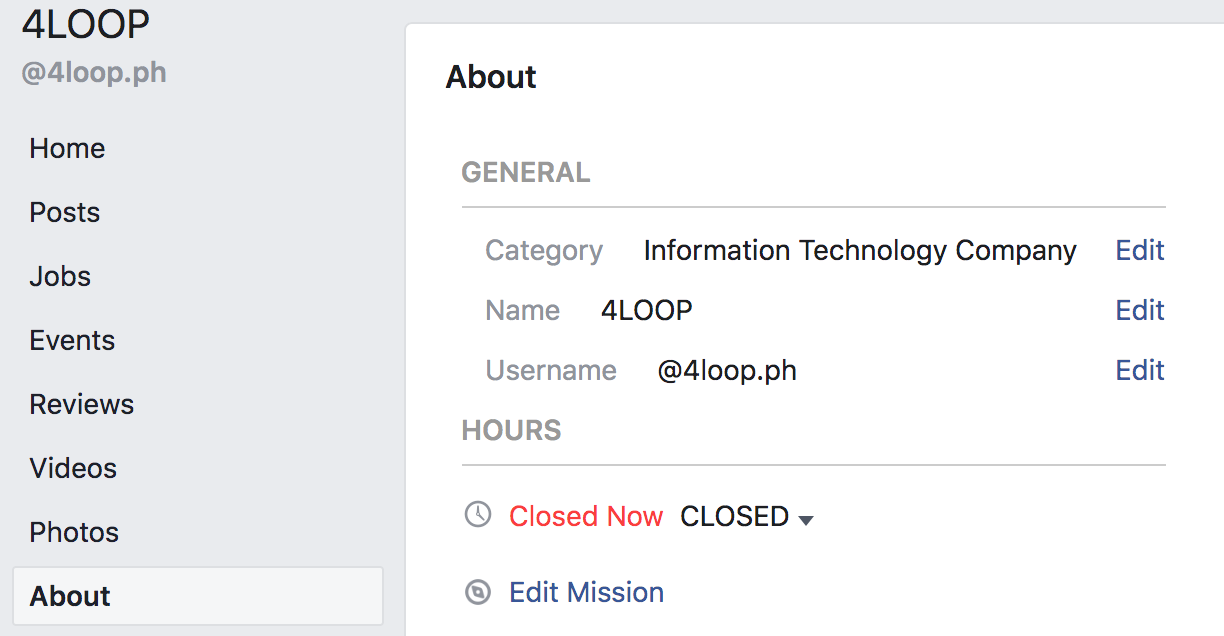
In the About page, click Edit Page Info. A form with several fields will appear. This form basically asks the essential information any customer would need about you and your page. So take the time to fill them in. Here’s a quick guide to setting up your About page:
- Description: There’s a reason it has a 255-character limit — you only need short and concise page descriptions. Remember that you can lose the customer’s interest within seconds, so do not bore them with long essays. 2 to 4 sentences should be enough. A short description of the nature of your business should be found right at the very first sentence.
- Website, Email, and Other accounts: It’s okay if you do not have a website or other accounts yet, but if you do, make sure you link them in your Facebook business page. Not only does this boost your credibility as a business, it also plays as an opportunity to keep your customer’s interest as they explore your other platforms.
- Location and Hours: Many users check your business page just to check your location and business hours. This is especially true for local stores. Don’t forget to keep them updated.
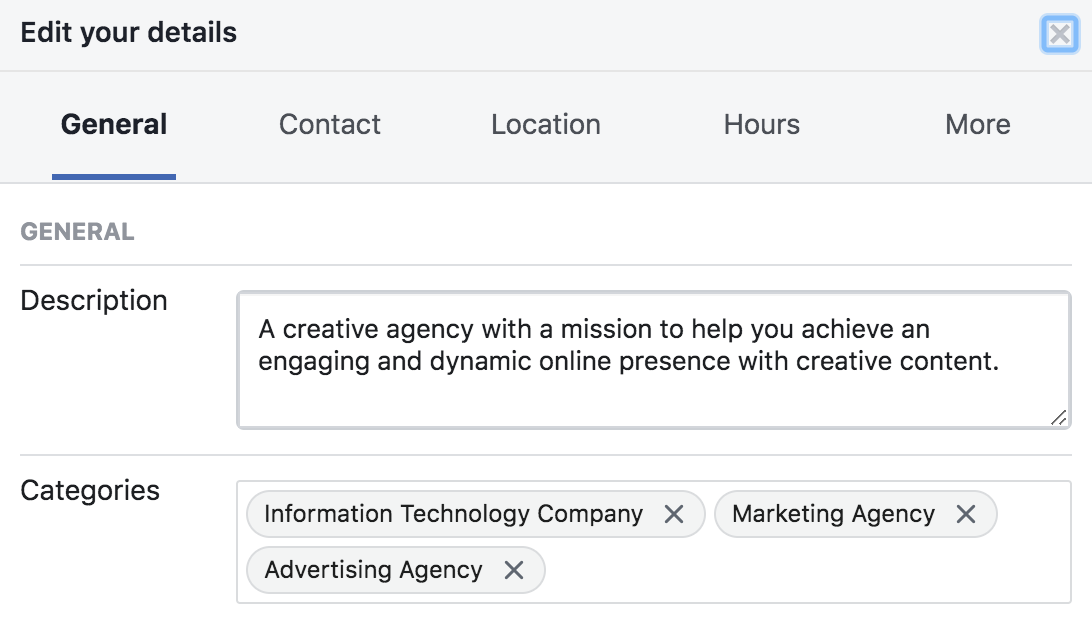
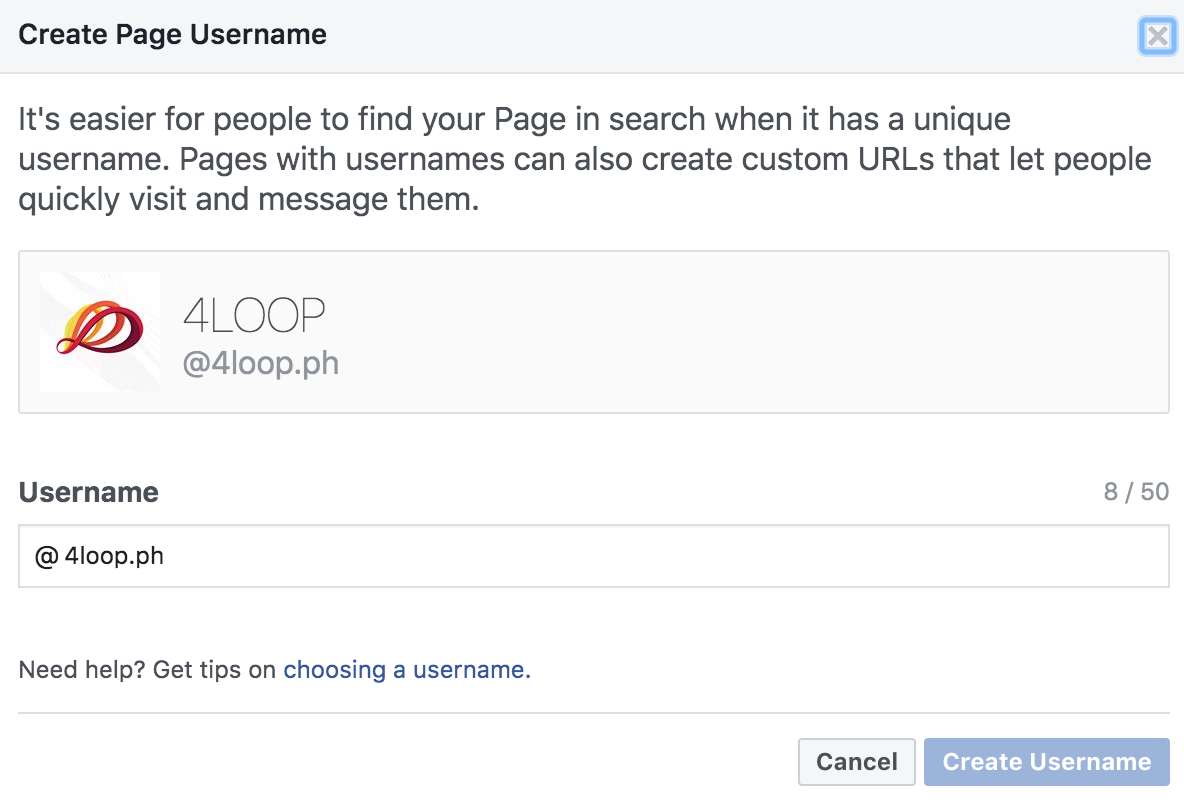
- USERNAME. Your username is a unique catchy name customers can use to find you or tag you in their posts. It also acts as a fancy URL. With a username, customers can type in “fb.com/yourusername” (i.e. fb.com/4loop.ph) to go straight to your Facebook page. So make sure to set it up for better visibility. When making one, make sure it is unique yet easy to remember. If your username is too common, too long, too short, or too hard to spell, customers may have a harder time looking for you. In the About page, under GENERAL, find Username and click Edit to set it up.
- YOUR FIRST POST. Your profile and cover photos are set. The About page is complete and your username is fancy and memorable. Now it’s time for your first post. Facebook allows a large variety of options for types of post: simple texts, images, videos, events, polls, externally linked articles, etc. Name it and Facebook probably supports it. In the end, the type of post doesn’t matter as much as the relevance of the post itself to your business. That said, make sure you only post content that is relevant to your business. To start, put yourself in the shoes of your target customer. What things would you be interested in? How does your business cater to those interests? Post something about that.
- THE SIDE TABS. There’s more to your Facebook page than what is discussed so far in this article. Make sure you explore the other tabs found in your side tabs and use them as needed by your business. The Services, Shop, Offers, and Events tabs are features you might want to look into once you get the hang of your page. The side tabs are optimized for use of businesses and utilizing them as required by your brand can make or break the effectivity of your Facebook business page.
OPTIMIZE for marketing
Done with the basics? It’s time to optimize your page to meet your Facebook marketing objectives. Here are some basic optimization features you can utilize to fully maximize your Facebook page’s effectivity.
- THE BUTTON. On the right side, right below your cover photo, is a button your customers can interact with to communicate with you. This is a Call-to-Action button. It has a limited customization feature that allows you to control what happens when customers click it. Utilize this according to the needs of your brand. Do you offer rental services? The Book Now button is for you. Food catering? Order Now is probably best. To most, the Send Message button is the safest bet. Having a quick button like this is an effective way to invite customers to take action with your brand. Simply click the Add Button and choose the best call-to-action for your business.

- PINNED POSTS. Pinned posts put your most important posts at the top of your home feed. Updating your pinned posts is an effective way to lead your customers to points of interest in your page such as upcoming events and ongoing promos. To pin a post, simply click on the three dots at the top-right of a post and select Pin to Top of Page.
- PAGE INSIGHTS. Facebook automatically gathers the data of users who interact with your page. It records interactions including the number of clicks to your call-to-action button, likes and comments on posts, shares and reach of stories, and many more. Studying these data and learning to interpret them will give you “insights” on what your customers like or dislike about your page. With your findings, you can adjust your content accordingly and improve customer engagement. To check your statistics, simply click on the Insights tab at the top.
You are all set! As final thoughts, always remember that Facebook as your host site is ever changing. Therefore, always check policy updates and changes in certain features or in the algorithm. If you would like more consistency and control, you might want to consider creating a website alongside your Facebook page. Nevertheless, a well setup Facebook page is a guaranteed way to boost your business’ online visibility and is a huge first step to an effective Facebook marketing strategy.
